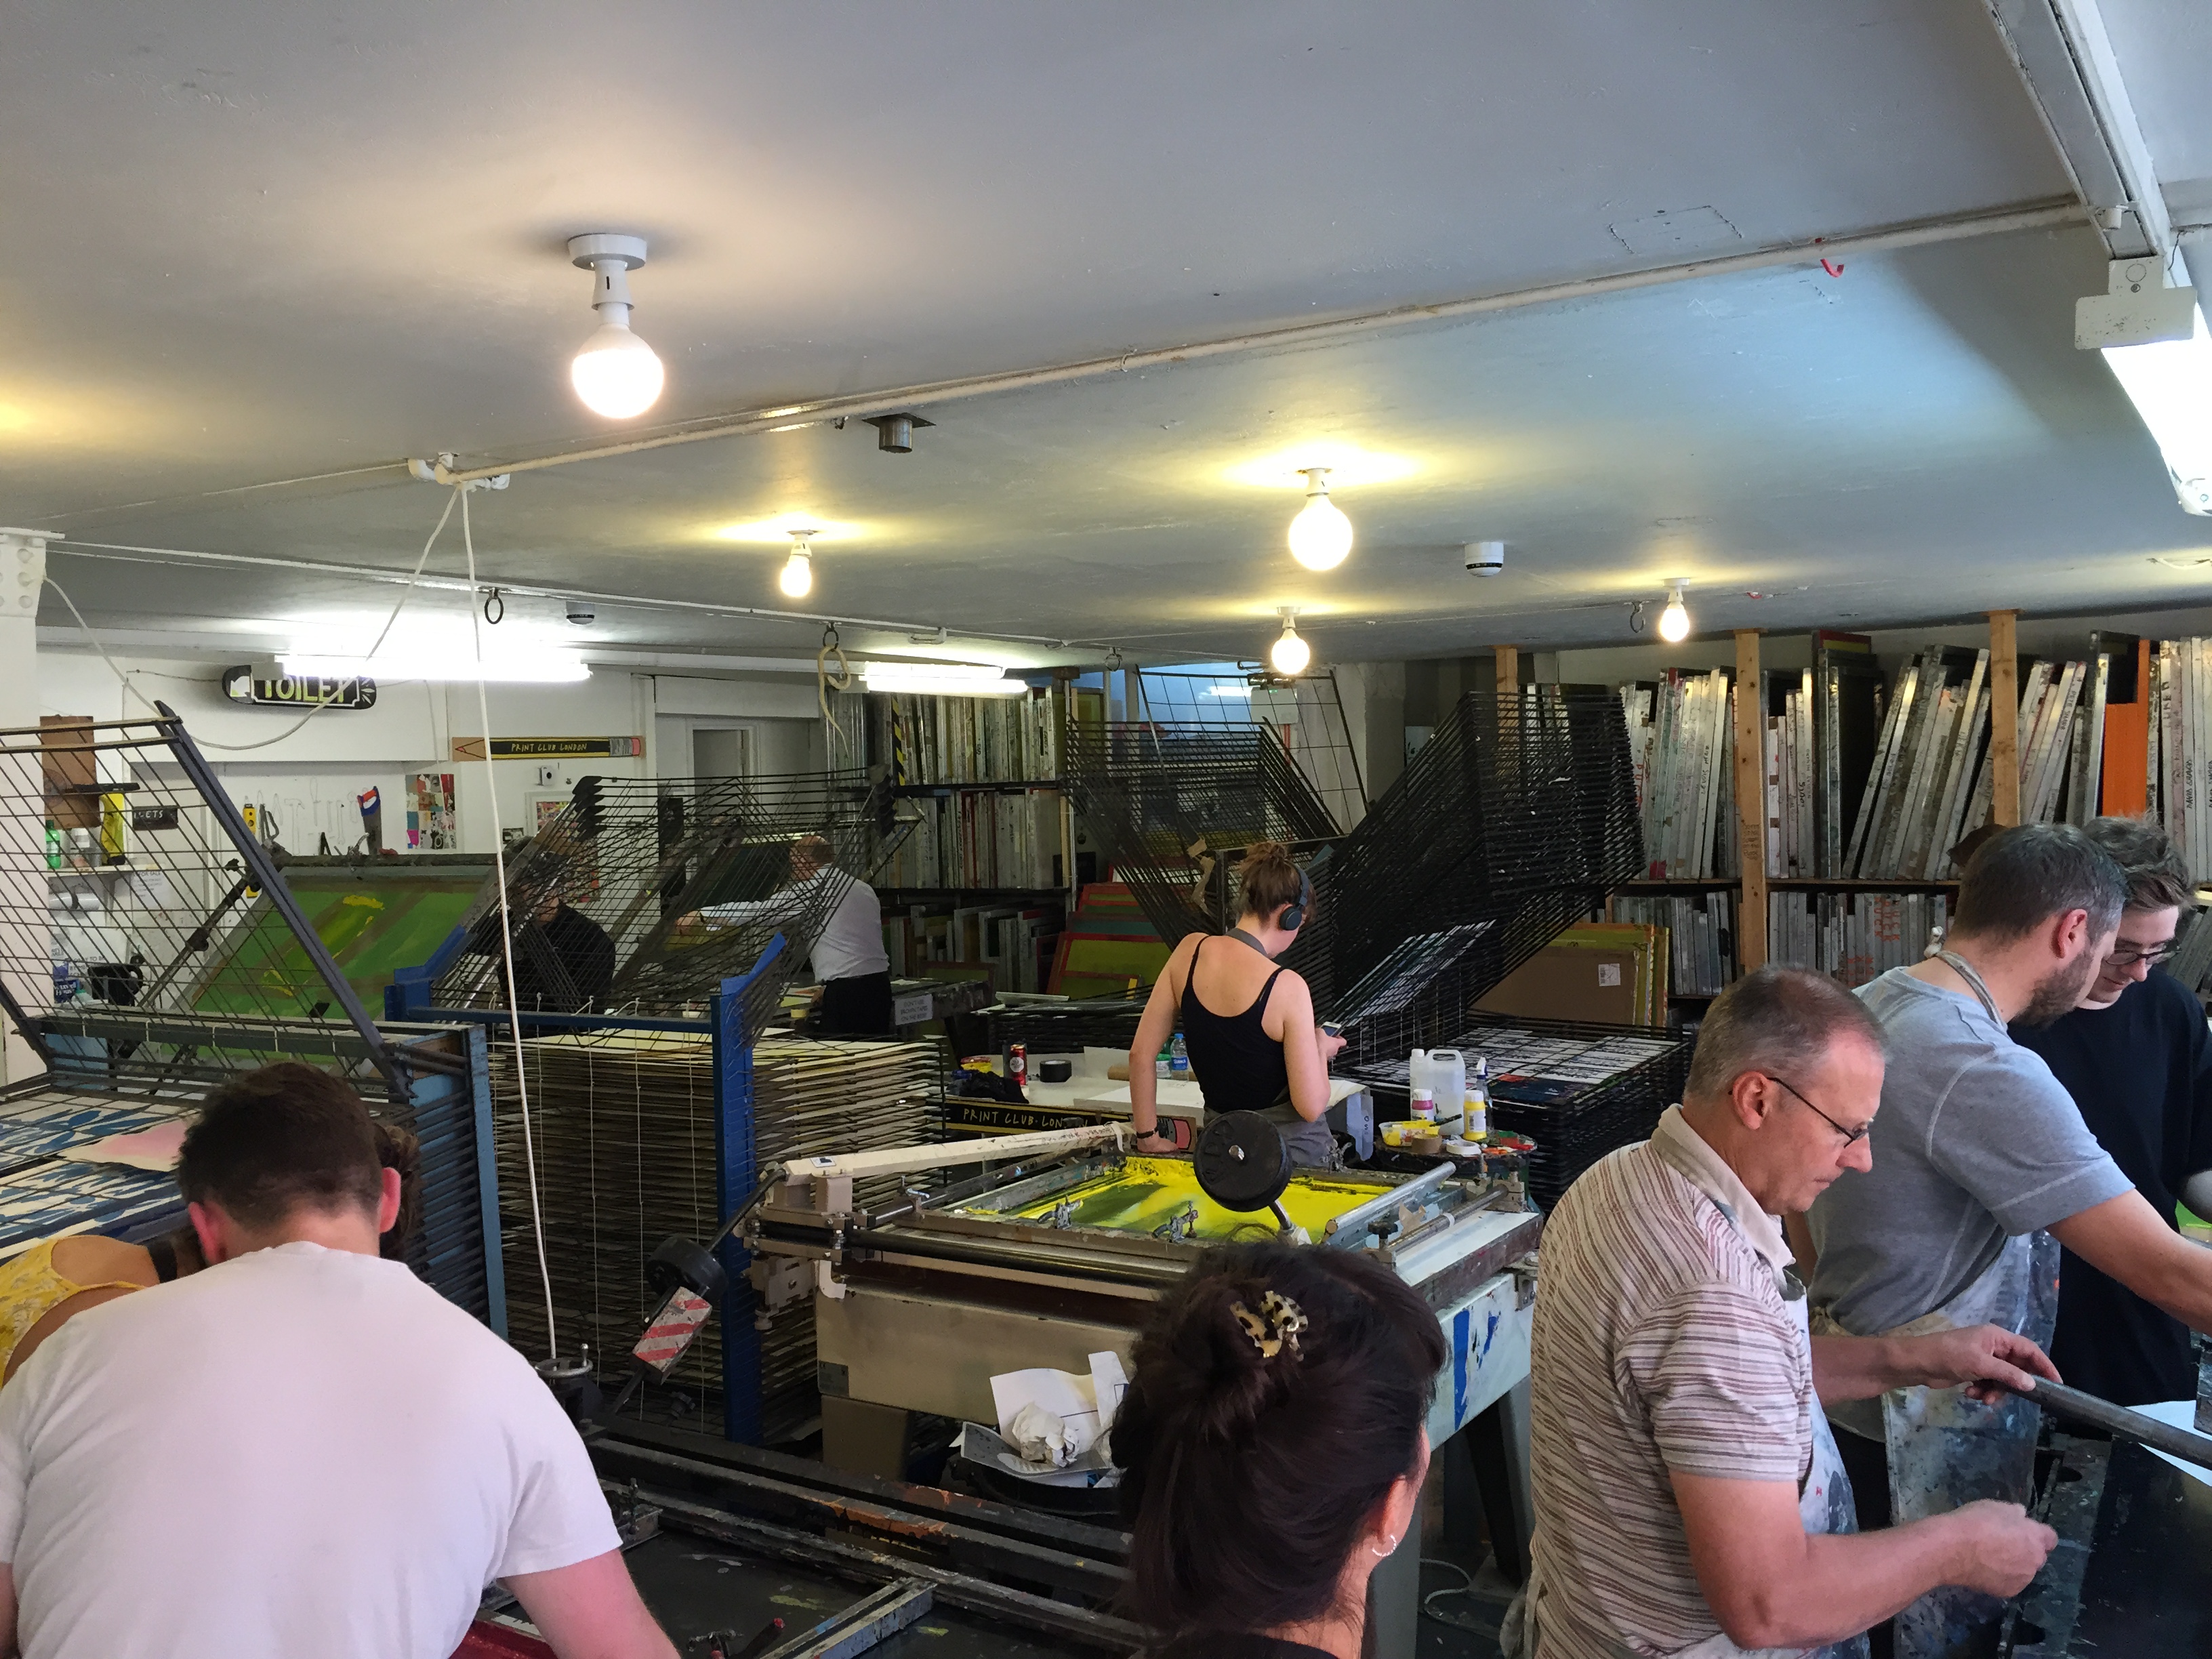
One of the gifts Wist bought me for my birthday this year was a workshop at Print Club London.

It’s situated near the Rio in Dalston, on a beautiful side road next to MC Motors.

The Print Club is a great shared workspace for artists and designers – sign up and you get access to all of their screenprinting equipment.
As I’d been in Cannes the week before, I hadn’t really prepped properly for creating something, so I fumbled together a text print based on Debussy’s quote ‘Music is the space between the notes’ the night before the workshop. Andy Bird would not be impressed with the kerning… Here’s the finished thing.

The course tutors are excellent – Barry led the day with Elliot and Jim assisting. If you’ve always wanted to try screenprinting, it’s well worth it. Just go – you’ll love it.
Below are the notes I took during the workshop, tidied up a little for memory’s sake.
SCREENPRINTING NOTES 27.06.15
#1. Prepping your image
To create a crisp image when using photo-sensitive emulsion to screenprint, we need to create a ‘positive’, an image made up of only pure black or pure white. Most images have shades of grey (even some that appear to be black and white.) So we have to convert them. To do that, we first need to greyscale the image in photoshop (image > mode > greyscale) and then bitmap it (image > mode > bitmap).
For blockier images (e.g cartoons or text) we can bitmap using ‘50% threshold’. This pushes anything below the halfway point of the light spectrum to pure black, and anything above the halfway point on the light spectrum to pure white.
For photorealistic images, we need to use halftone printing. Halftone printing allows us to show shades, by using different sized dots. Once you’ve clicked on bitmap you need to use the halftone option, taking care to match your input with your output resolution. Then just choose your shape and play around. Round is the most common shape (used in pop art and comic books.) But there are many others, and you can even choose your own custom shape.
If you choose a higher frequency, you’ll get more detail in the print. A lower frequency, you’ll get fewer (but bigger) shapes in the print. As we were working with a 90 threadcount screenprint, Elliot told us we shouldn’t go any higher in frequency than 40, as the detail won’t get picked up by the screen. The halftone angle should be a number that doesn’t end in 0 or 5 (or it will play tricks on your eyes with the Moire Effect.)
As your positive can only be made from 100% black or 100% white, if you want to print multiple colours, you need to create multiple positives, that each go onto a separate screen. So if you were printing a Captain America comic, you’d need to create a red layer, a blue layer and a black layer. Each layer takes about 4-5 hours, so you can end up with a ton of work if you choose more than 4 layers.
The hardest bit when printing more than one colour is registration – getting each layer to line up perfectly with each other. Because you can press slightly harder on the left than the right, or the screen falls in slightly different place etc.
#2. Prepping your screen
Photo-sensitive emulsion is used on the screen to create custom stencils that ink is pushed through. It hardens when exposed to light, so should only ever be applied in a dark room.
The coverage of the emulsion on the screen needs to be consistent, without any patches. If there’s a bit too much emulsion on there, it doesn’t matter too much (although it will take forever to dry…) It’s an issue if there’s no emulsion on there.
To cover your screen, you need to fill the scraper with emulsion. Place the scraper’s edge against the bottom of your screen and slowly tilt until the emulsion makes contact along the length of the screen. Use the sharp side of the scraper if you’re printing on paper, the rounder end if you’re printing on fabric. Then in one move, pull the scraper up to the top.
Tilt the scraper back to horizontal, and wiggle it to remove any excess on the canvas. A little piece of cardboard should be used along the edges to remove any excess emulsion.
The screen should then be placed in the dark dryer rack, until the emulsion is dry.
#3. Printing your image
Using the photosensitive properties of the emulsion allows us to use light to transfer our positive onto the screen. To do this, our positive needs to act as a stencil (for light). Ordinary B&W printing works for this, onto either tracing paper or acetate. Both have their benefits: Tracing paper is much cheaper can rip easily and falls apart. Acetate is much stronger and is wipe clean, but it’s about 10 times more expensive. You can print your stencils at home on laserjet printers. Inkjet printers don’t work as they give incorrect coverage on the sheet. Or you can simply draw onto tracing paper or acetate with a black marker or a chinograph pencil.
#4. Checking your image
When our image is printed onto acetate or tracing paper, you’ll often get inconsistent printing. Any black dots that have come out that shouldn’t be there, you can cut them out with a scalpel. Any bits that should have printed out but haven’t (e.g speckles on heavy blacks) then you can colour them in with a hard black marker.
#5. Exposing your screen
Once your screen has dried, the next job is to print your image onto it using the Exposure Unit. It’s basically a sunbed, with a rubber canvas on the top (to save your eyes…)
After making sure the exposure glass is clean (glasscleaner and sponge on the side if you need it…), you should lay down your acetate artwork face up (so if it’s text, you should be able to read it.)
The screen should then be placed on top of the artwork (canvas face down first rather than frame first.) It doesn’t need to be exactly straight, as you’ll need to register it when printing anyway.
A little bit of rubber wire is placed on top of the frame edge, to allow air into the frame, ensuring vacuum pressure on the canvas.
42 units of light is good for the emulsion used at Print Club. Too much light, everything will harden on your screen and you won’t be able to print. Too little light, all of the emulsion will wash out and you’ll be back to where you started. The vacuum goes for 25 seconds before the light engages.
#6. Washing out your screen
Once that’s done, you need to wash your screen out. This washes away all the unhardened emulsion, leaving you with a stencil on your screen for pushing ink through. You do this by soaking the screen with a hose, then spraying it with the pressure washer. To avoid ripping your canvas, make sure you spray off of your screen first and then move onto it.
Then leave it out to dry and go to lunch…

#7. Fixing up your screen
Pinholes are little holes that appear in your screen, where emulsion has flicked away where it shouldn’t. To fix this, tape up the holes on the canvas side of your screen. It’s also a good idea to tape up the outside edges of your canvas (on the canvas side of your screen) as ink can sometimes get through here.
#8. Registering your screen
To register your print, you need to stick it onto a piece of paper (if you’re printing A4, A4…) in the position you want it to sit. Attach long cardboard arms to the paper and place under the screen. Then use the arms to move the paper around until it lines up with when your screen is. To make sure it’s exactly right, press down on your screen, as this can sometimes effect the accuracy of your registration. Once the paper is in the right place, put registration markers on the base and side of your paper. This will allow you to slot another piece of paper in easily, without having to measure it all again.
#9. Flooding your screen
Lift the screen up and flood it with ink. This involves putting your coloured ink at the base of the frame side of your screen and pushing it down the screen with the squeedgee edge closest to you.

You can beautiful print gradient blends by placing different colour inks along the base, and flooding the screen several times to blend the ink.
#10. Screenprinting
Lift the screen and put your paper underneath on the registration markers. (Never move onto your good paper before you’ve tested it out on 5 or so scrap pieces.)
Lower your screen and drag your squeedgee towards you, back down the screen at a 45% angle, applying significant pressure.

Lift the screen slightly, and flood the screen again so it doesn’t dry out. Then remove your new screenprint and put it on a rack to dry.
Load with paper and go again.
Once dry you’ve got a screenprint!
#11. Stripping your screen
To strip your screens once you’ve finished, take all the tape off the screen and spray it down (on both sides) with the methlated spirit gun. Then scrub it with a brush until you can see the emulsion breaking down (it will go quite soapy.) From there, spray it down with the pressure hose – and your screen is good as new and ready for the next project…


